ENROLLMENT OPENING NOVEMBER 5, 2025

Title

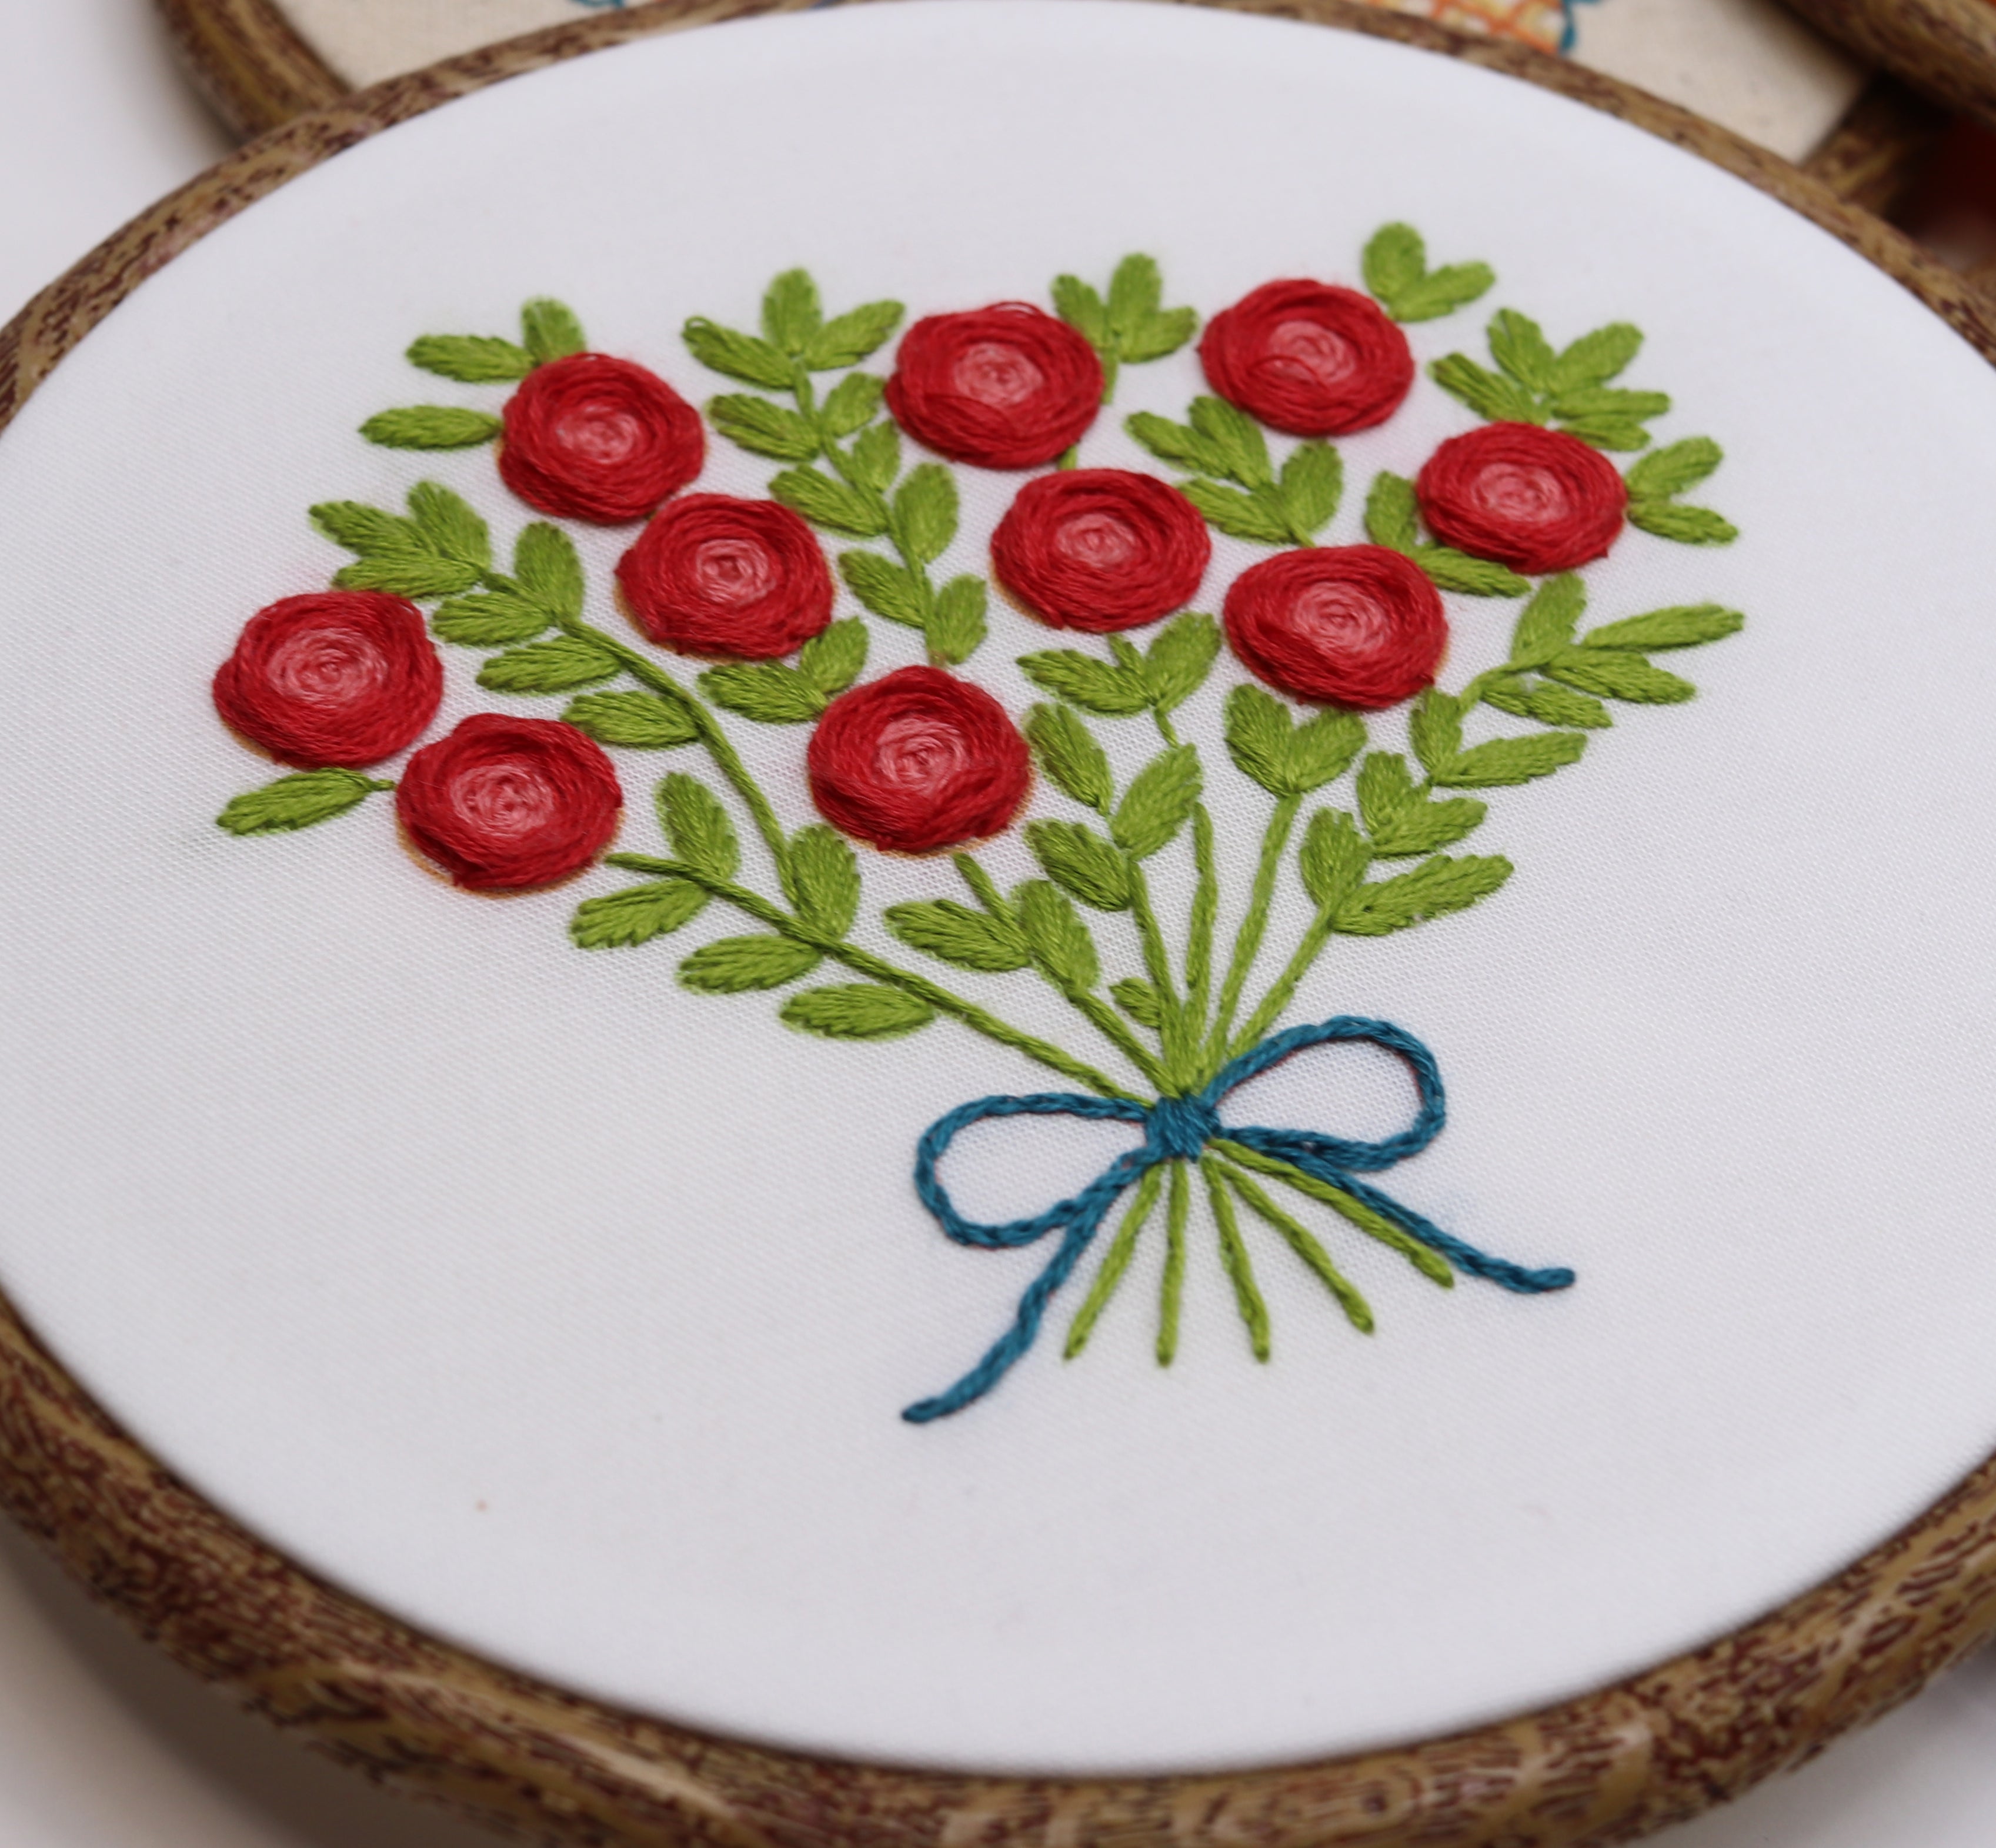
 Stitchers ready to make your own embroidery patterns:    

What if:

designing your own patterns felt like a clear, guided process, instead of something mysterious you had to figure out alone?

And what if:

your finished pieces were so distinct and polished that others wanted to stitch them too?

The Stitched Stories Pattern Design Blueprint gives you a sketch-to-fabric roadmap, stitch design framework, and practical lessons on color, composition, and polish...


..so you can create patterns that feel solidly designed and truly your own.

LET ME KNOW IF THIS SOUNDS FAMILIAR
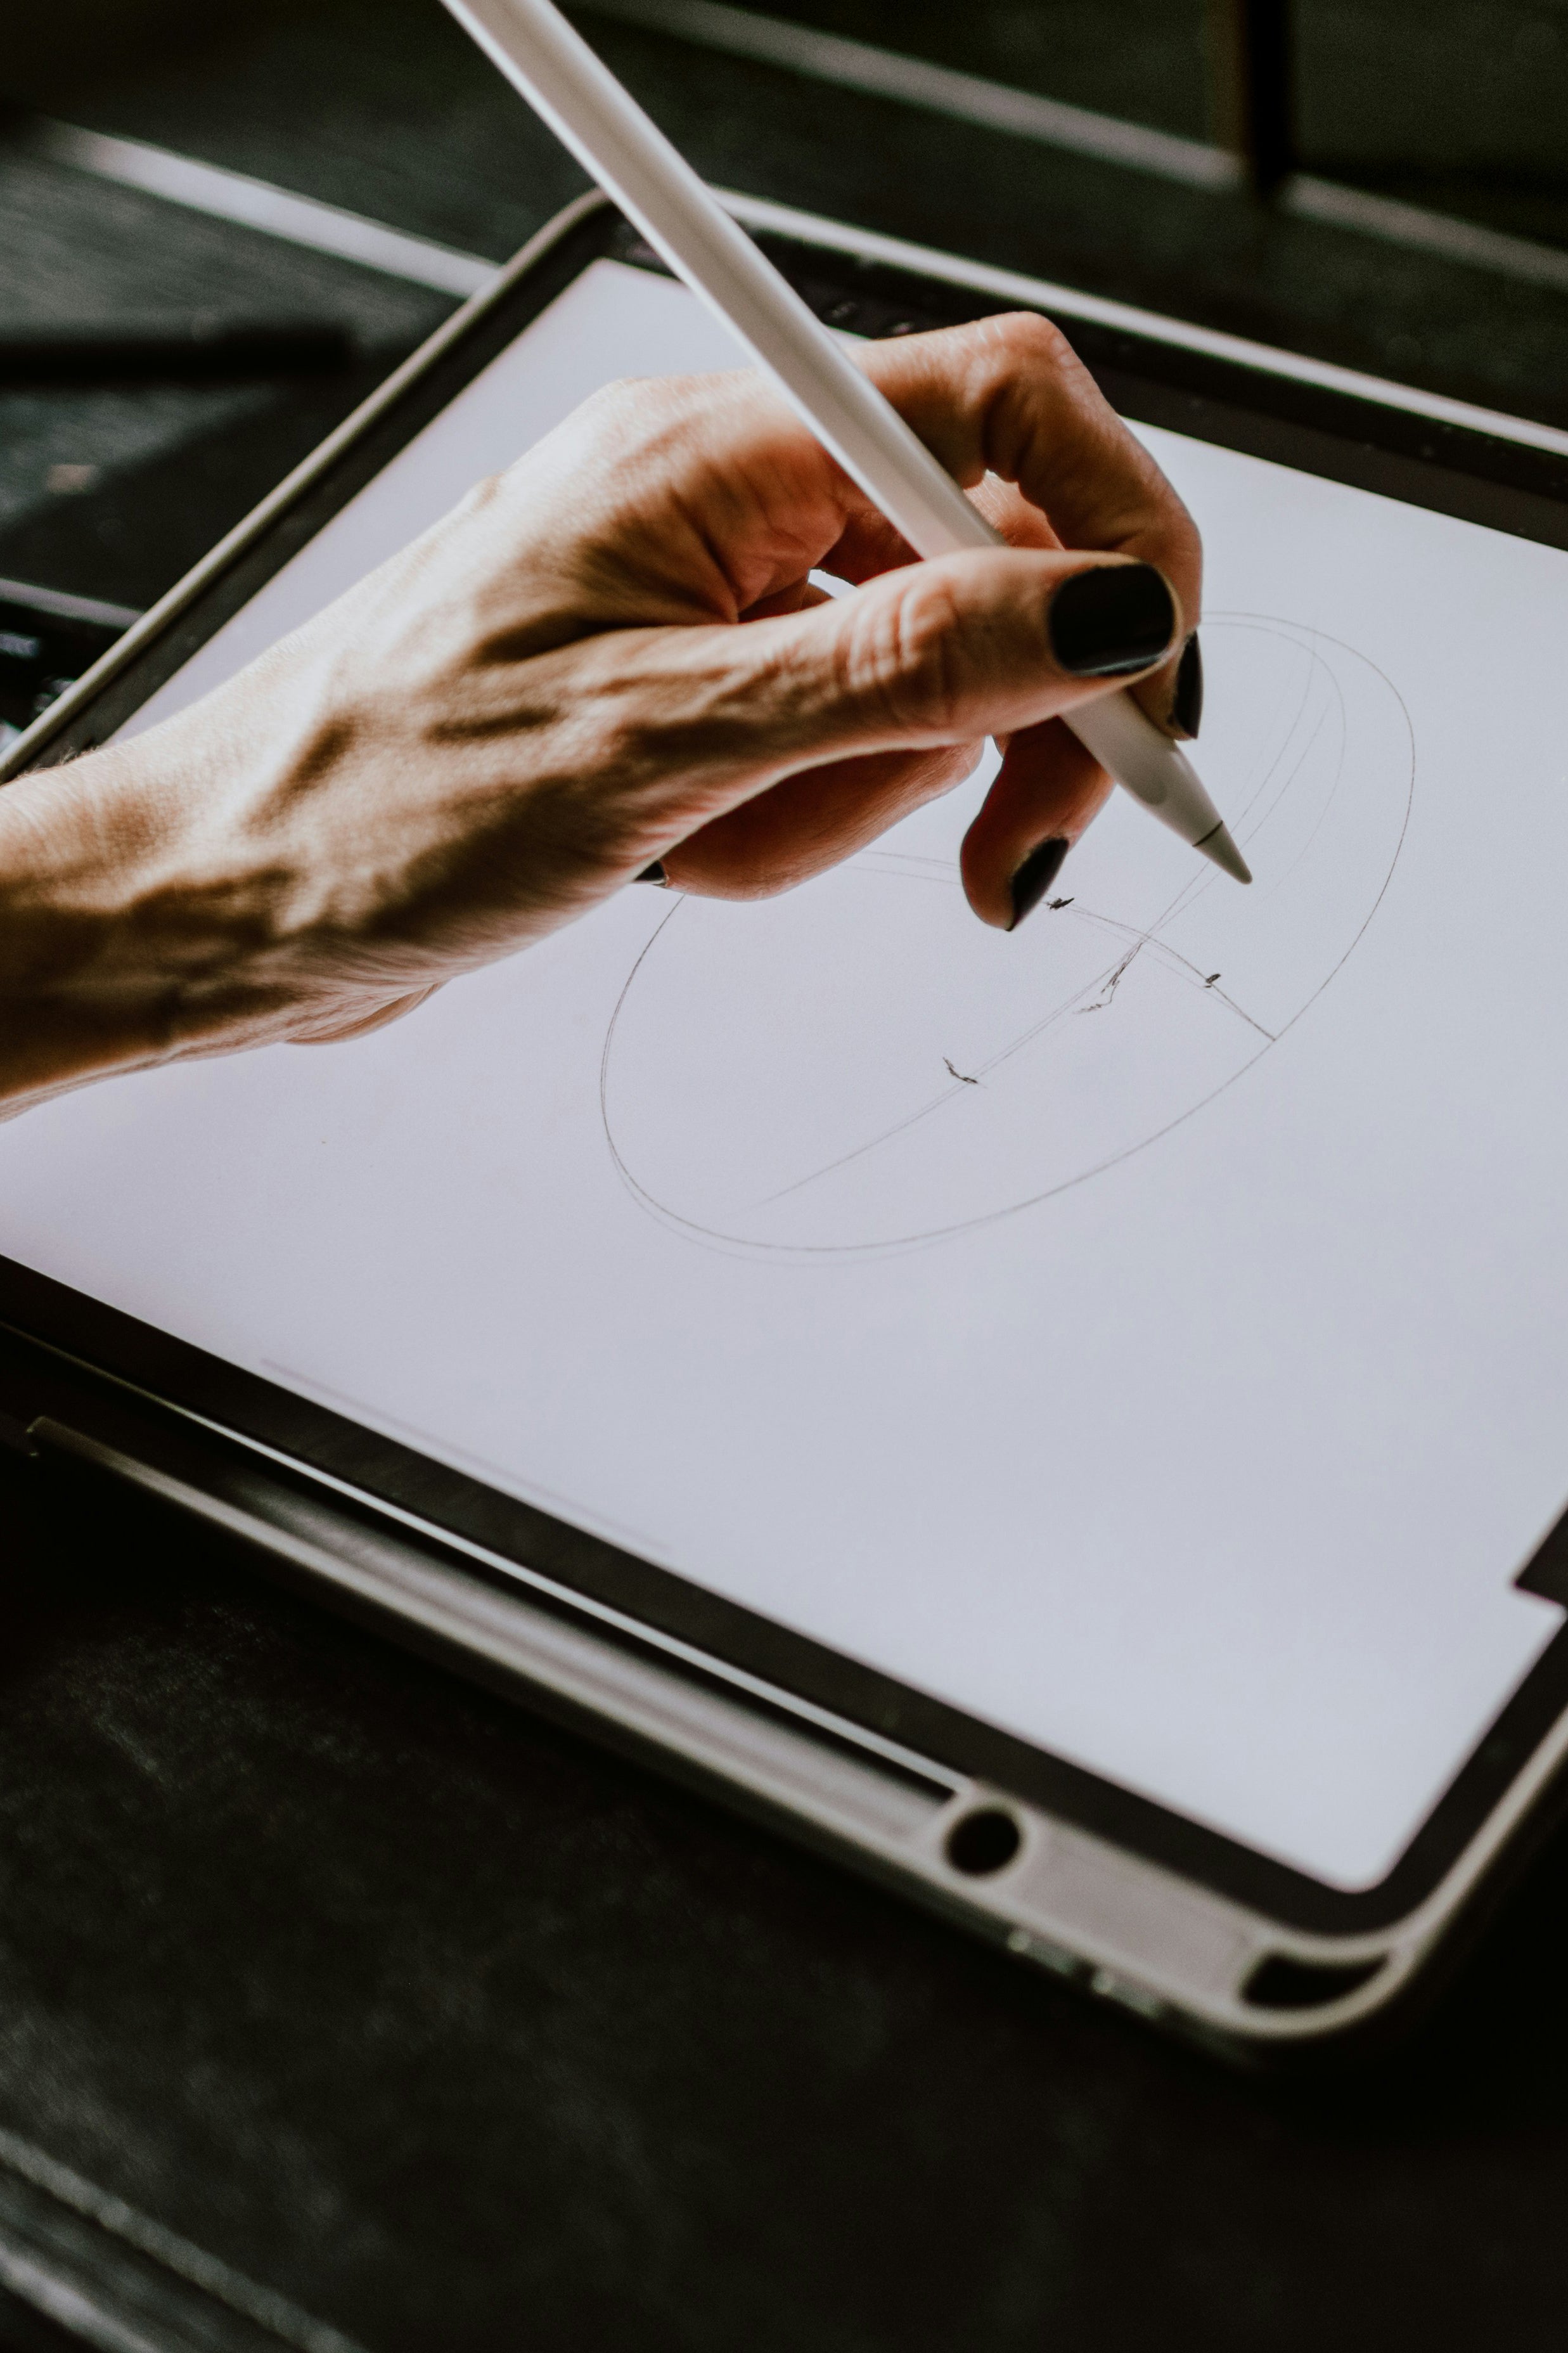
You've got plenty of ideas for what you'd love to stitch...

In fact, you can picture patterns of your home, your garden, even your favorite pet — designs that would mean something to you and maybe even to others.


The problem is . . .


…every time you think about making your own pattern, it feels harder than it should.


🚫 You’re not sure how to get a sketch onto fabric without the whole process feeling clumsy.


🚫 Choosing stitches feels confusing — outline or fill? simple or textured?


🚫  And when you try to arrange motifs or pick colors, the design doesn’t quite hold together the way you imagined.


You’re willing to do the work, but you need a guide — a process that takes the mystery out of designing and gets you stitching your own patterns.

How would it feel to:

✅ See your sketches make the leap onto fabric without the stress of wondering which transfer method is “right”? You’d know the options, pick the one that suits you now, and feel confident you could try more advanced methods when you’re ready.


✅ Look at your home, your dog, or a seasonal piece with a trendy motif and know exactly how to translate what you see into stitches? With a clear 3-part framework, you’ll choose motif treatments, fills, and canvas elements (borders and backgrounds) that fit your style.


✅ Design like an artist, using color to set tone, composition to create movement, and polish to give your work that final spark — building patterns that reflect your signature style?

You don’t need to be a professional designer to create embroidery patterns you’re proud of.

What you need is a clear process that takes you from idea to composition — bringing motifs, stitches, and colors together into a design that feels intentional and complete.

That’s the promise of the Stitched Stories Pattern Design Blueprint.


Here’s how it works:


1. Go From Sketch to Fabric — Your Way:

Learn the full range of options for transferring your designs, so you can pick the method that fits your project now — and feel confident stepping into more advanced approaches when you’re ready.


2. Pick Stitches That Fit — With a 3-Step Framework:

You’ll have a roadmap for turning sketches into embroidery stitches. Decide how to render motifs, fills, borders, and backgrounds so they reflect your own unique style.

3. Elevate Your Design — With Color, Composition & Charm: 

Visual design principles are woven into the Pattern Design Blueprint process, so you’re not just learning about color, composition, and polish — you’re applying them right away to your own designs, building confidence with every choice, and creating patterns you’ll be proud to stitch.

Title

Meet the creator of the Pattern Design Blueprint.

Hi, I’m Debbie Hodge — founder of StitchedStories.com and designer of more than 100 embroidery patterns. In just five years, I’ve sold over 60,000 kits and patterns (totaling $1.5 million in sales) to stitchers around the world.


My love of crafting started early and has shaped every stage of my life. I’ve designed program interfaces, built websites, and published both scrapbook pages and a book (Get It Scrapped). But at 59, I returned to embroidery — and discovered the joy of designing pieces filled with the motifs, stitch combinations, and stories I loved most.


Since then, I’ve built a growing library of embroidery patterns, sold through StitchedStories.com and Etsy, with thousands of stitchers completing projects that now hang in their homes. Through this work, I’ve learned what makes a design both engaging to stitch and striking to display.


And now I’ve taken everything I know and developed the Pattern Design Blueprint — so you can design embroidery patterns that feature the motifs, stitches, and style you love.


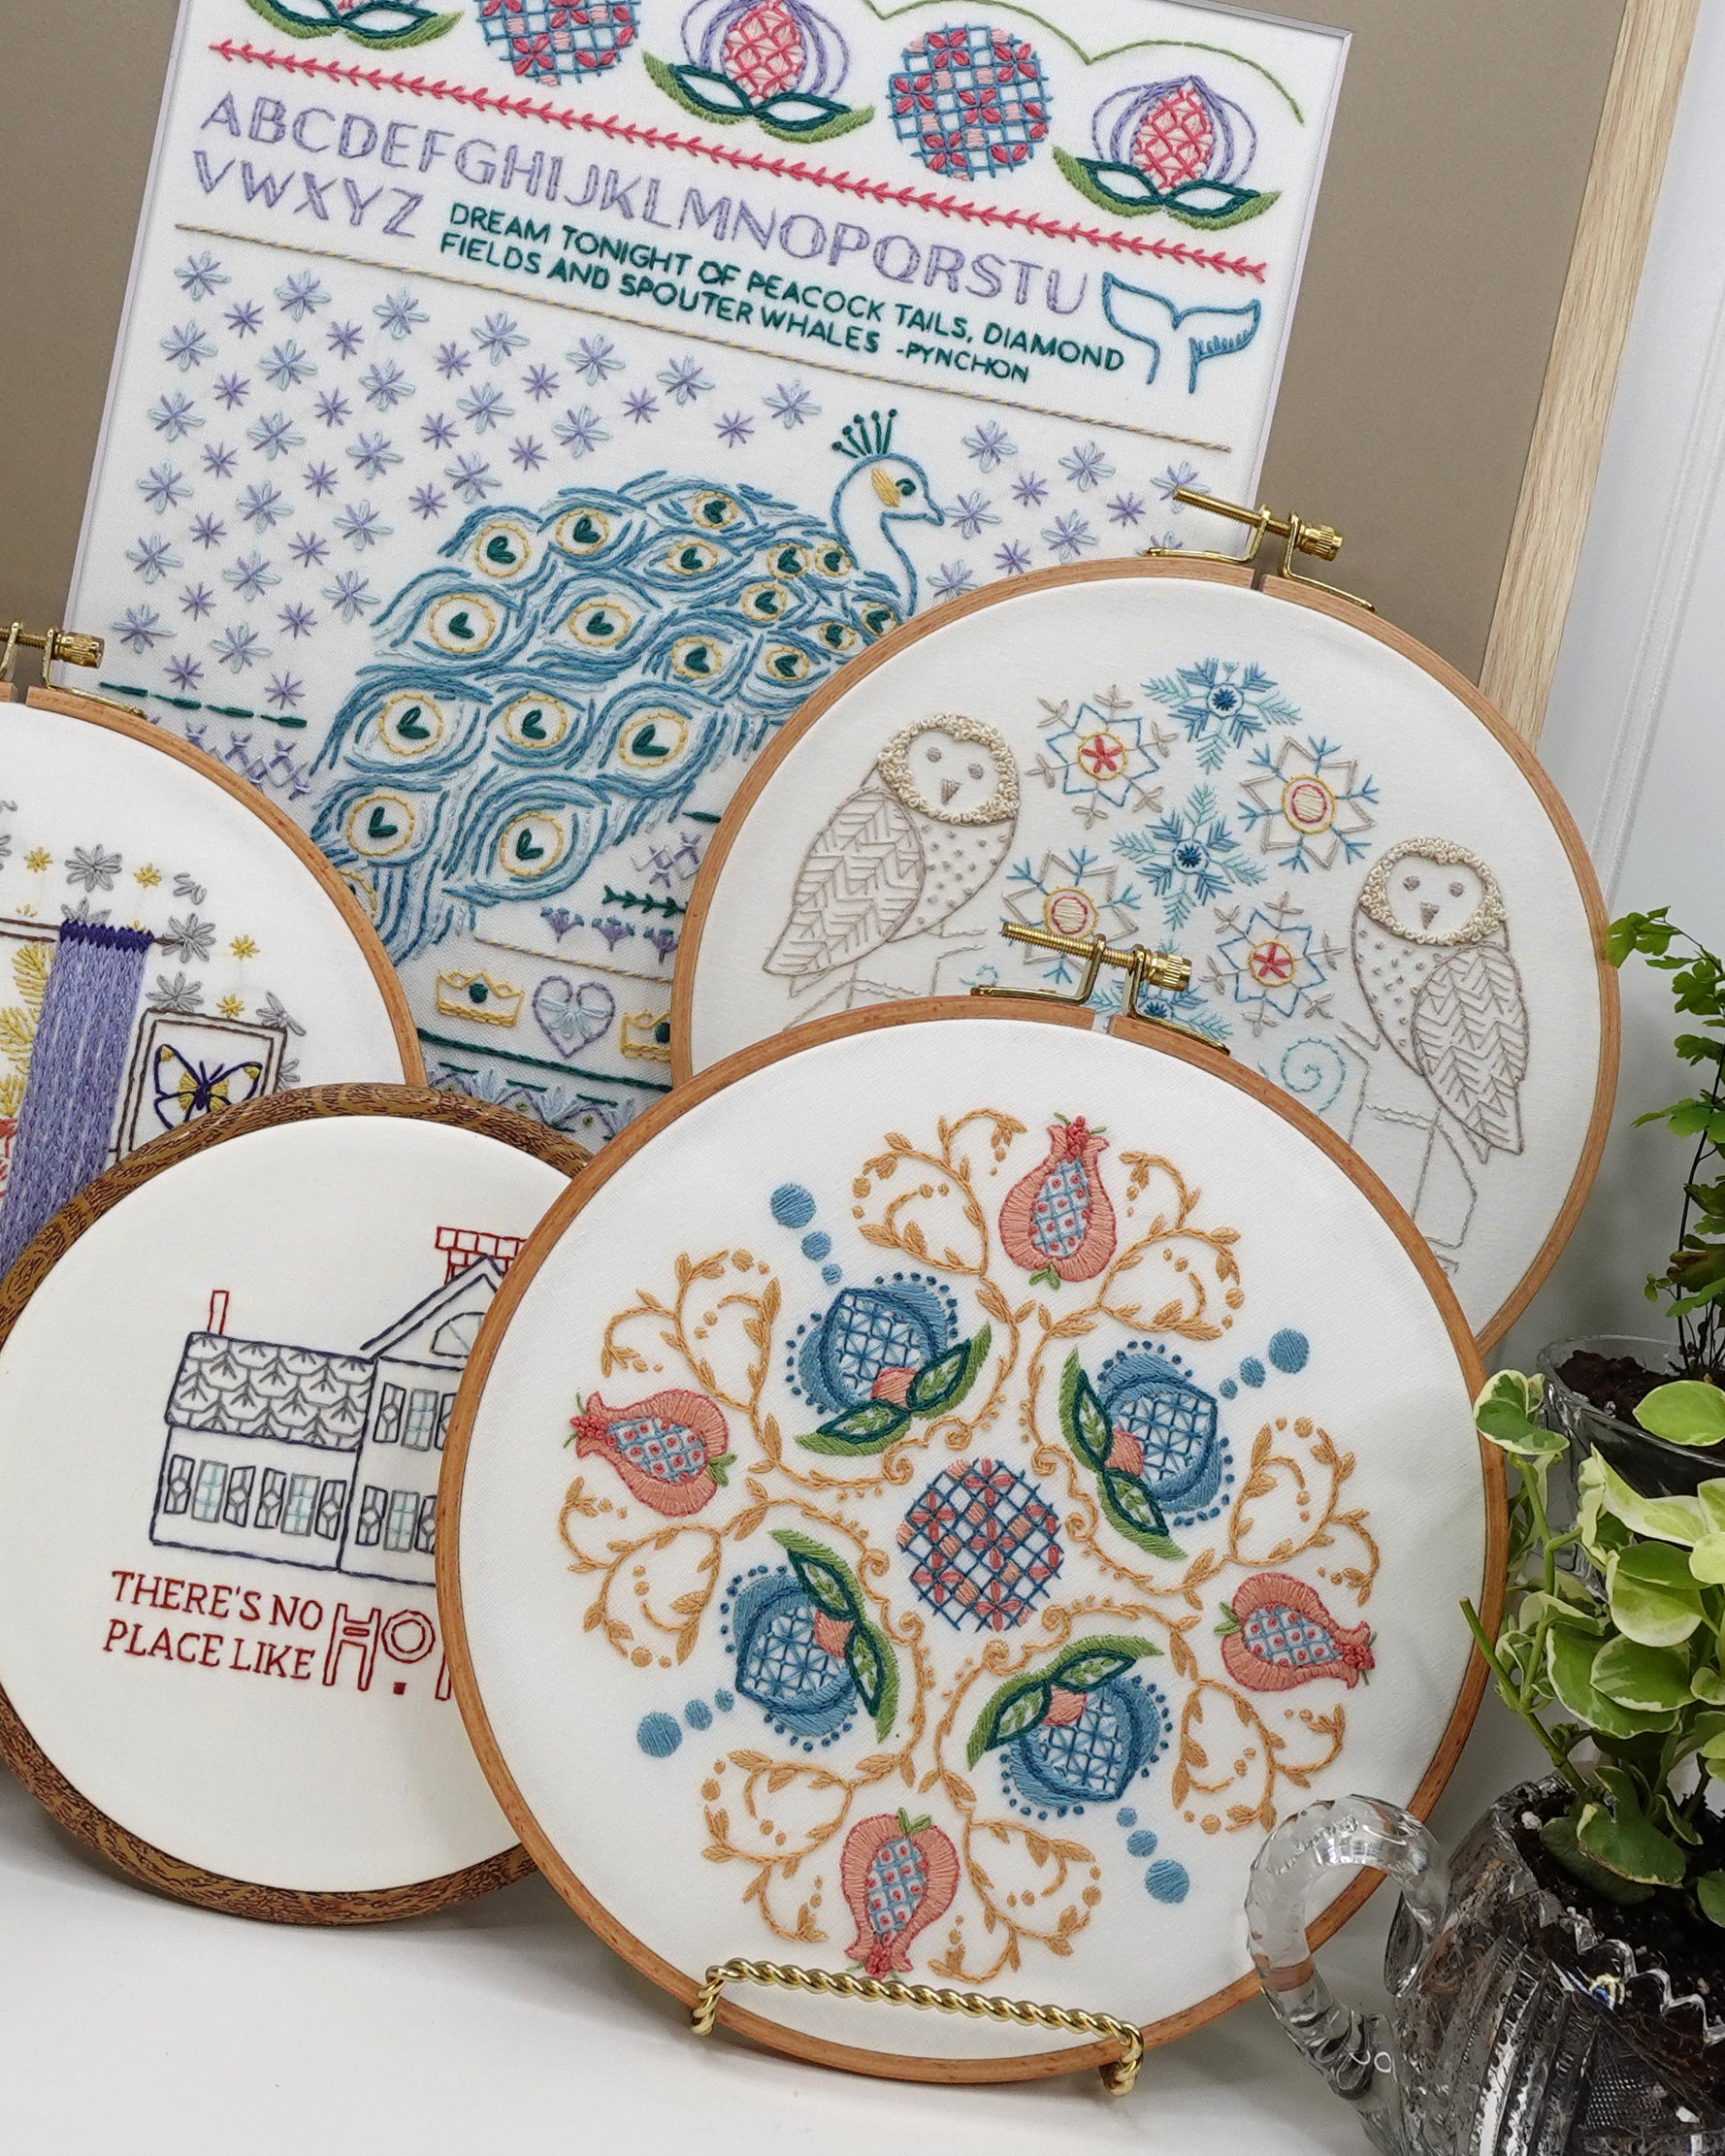
Design Your Own Embroidery Patterns

with the Stitched Stories Pattern Design Blueprint

enroll opening November 5th for just $99

📌 Self-paced lessons — start anytime

📌 Lifetime access in the Stitched Stories classroom

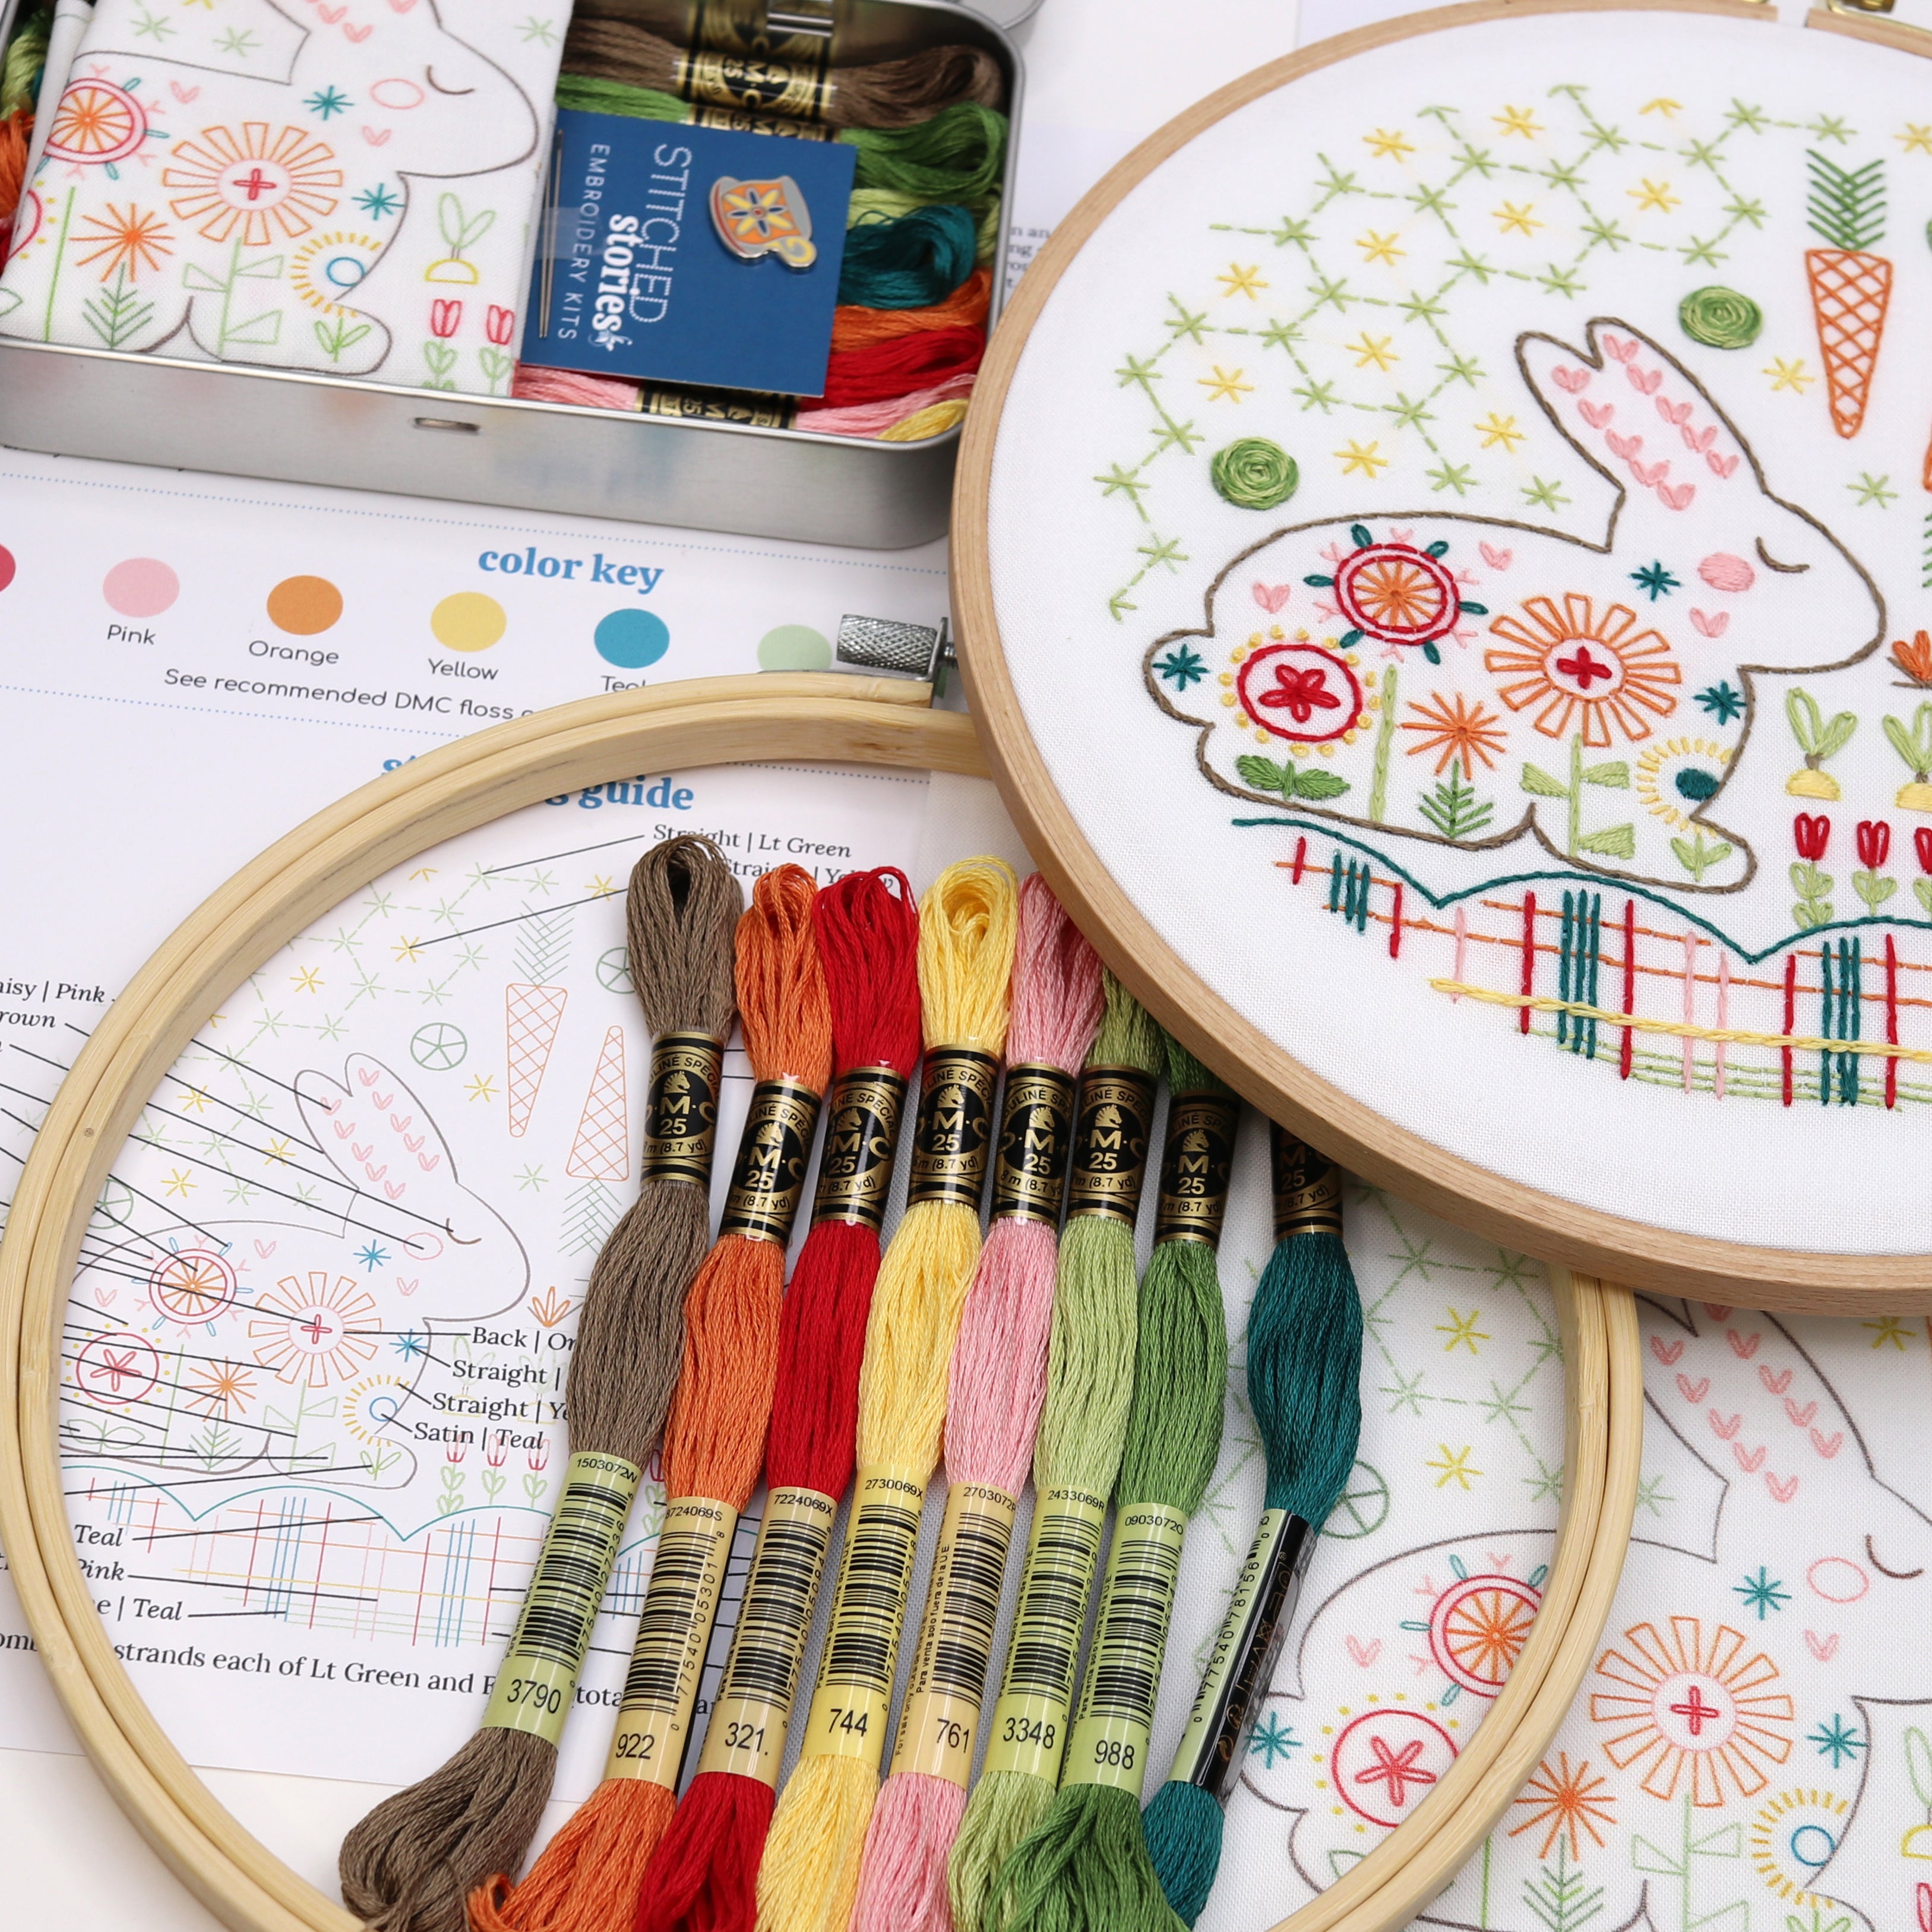
Here's what's inside Pattern Design Blueprint

Lesson 1: Design Foundations (set your compass)

Before you ever put pencil to paper, you need clarity about why you’re designing and the real-world forces that will shape what you create. Skip this step and your patterns risk feeling scattered or unfinished.  With this foundation, every choice you make — motifs, stitches, color — will feel grounded and intentional.


You’ll discover:

  • How to uncover your purpose for designing — your creative compass.
  •  The “design drivers” that influence every project (time, materials, display).
  • Why knowing your compass + terrain makes each later step easier and more enjoyable.

Lesson 2: Tools & Methods Roadmap (see your options)

Before you dive into designing, it helps to know the practical routes available. This lesson gives you a clear map of how you can create your pattern and then transfer it to fabric. Without this overview, the details in the next lessons may feel scattered. With it, you’ll know exactly where you’re headed.


You’ll be introduced to:

  • Two starting points for creating your pattern: pen & paper or digital tools.
  • Five ways to transfer your design to fabric — from lightbox tracing to print-on-demand.
  • How this roadmap prepares you for the deeper dives in Lessons 3 and 4.

Lesson 3: Create Your Pattern (choose your rendering path)

There isn’t one “right way” to get your design onto the page or screen. In this lesson, you’ll see the practical options and available tools for rendering your pattern so it’s ready for transfer and stitching. Whether you keep it simple with pencil and paper or step into digital tools, the focus is on priorities like keeping your design clean, scalable, and stitch-friendly — not on learning specific hardware or software.


You’ll discover:

  • The process for turning hand-drawn sketches into digital, reproducible patterns.
  • What digital drawing can add to your toolbox — including quick-start tracing from photos or public-domain images.
  • How advanced tools open the door to building a personal design library you can re-use and adapt across future projects.

Lesson 4: Transfer Your Pattern (get it onto fabric)

With your design rendered, the next step is moving it to fabric. In this lesson, you’ll see five proven ways to do just that — from simple DIY tracing to professional print services. I won’t teach you the ins and outs of every tool or machine, but you’ll have a clear understanding of what’s possible, what each method requires, and how to choose the best fit for your project and volume.


You’ll discover:

  • The low-tech approach: tracing with a lightbox and heat-erasable pen.
  • At-home printing options: directly to fabric or onto wash-away stabilizer.
  • Scalable solutions: custom stamps and print-on-demand services.

Lesson 5: From Image to Stitches (your 3-step framework)

Turning an image into an embroidery pattern isn’t as simple as tracing outlines. With your compass from Lesson 1 in hand, you’ll use a clear framework to decide how motifs, fills, and canvas treatments come together. This is where the guesswork ends — and your creative choices start to feel intentional, repeatable, and true to your style.


You’ll discover:

  • Three ways to render motifs — outlined, representational, or realistic — and when each makes sense.
  • How different fills (solid, creative, or repeating) change the mood and texture of your piece.
  • The surprising role of backgrounds and borders — and how they can either clutter a design or give it cohesion and polish.

Lesson 6: Color (set mood, focus, and flow)

Color choices can make or break a design. In this lesson, you’ll learn how to use color intentionally — not just picking shades you like, but understanding how hue, value, and saturation shape mood, focus, and movement in a piece. With this knowledge, you’ll start to see why some designs feel calm and cohesive while others pop with energy and contrast.


You’ll discover:

  • The three properties of color — and how adjusting value or saturation can be more powerful than adding new hues.
  • Why some color harmonies feel soothing while others create spark and tension.
  • How to guide the eye with color — creating focal points, flow, and balance across your design.
  • A pro tip for building palettes as you stitch, so colors evolve naturally while keeping story and cohesion in place.

Lesson 7: Composition (arrange motifs with intention)

The way motifs are arranged on your canvas shapes the feel of your design — balance, storytelling, and how the eye moves through a piece all depend on composition. In this lesson, you’ll learn how to make deliberate choices so your designs feel intentional rather than accidental. You’ll explore a set of go-to structures that can ground your work, spark new ideas, and even energize your personal style.


You’ll discover:

  • Why white space isn’t “empty” — and how it changes the way your motifs are perceived.
  • Six go-to composition approaches (single motif, scene, band, compartments, collage, mandala-inspired) — and the distinct effect each creates.
  • How canvas shape and size guide what kinds of designs work best.
     

Lesson 8: Add Charm (give your design a strong finish)

A solid design can still fall flat without that final spark. In this closing lesson, you’ll see seven ways to add charm — the qualities that make a piece compelling, delightful, and unforgettable. This isn’t about following rules; it’s about learning how to spot opportunities to add polish and surprise so your designs feel finished and full of life.


You’ll discover:


  • Why simplicity, stitched with intention, can be more powerful than complexity.
  • How a strong motif, color choice, or contrast instantly raises the impact of your design.
  • The charm of a collection — repetition and abundance that draw viewers in to explore.
  • The unexpected touches — from texture to surprise elements — that make viewers lean in closer.